As a homeowner, we all know how particularly important it is to let our roofs stay at their best and prevent leaks that spiral into costly repairs. The fifth annual survey by Chubb reported the astonishing figure of 44% of U.S. homeowners who had to deal with water damage in their homes in the last couple of years, up from just 27% in 2020. This sudden rise brings into sharp focus the rising need for proactive home maintenance, particularly regarding roof inspections. So if you’re also frustrated with leaks in your roof and want to deal with them on your own, then this guide will help you with a simple DIY roof inspection of metal roofs.
What is a Roof Inspection?
A roof inspection is an in-depth check on the condition of your roof, involving the investigation of different components to ensure everything is working correctly and nothing is compromised. This important preventive maintenance may save you from letting small issues turn major, especially with a metal roof.
In a roof inspection, inspectors look for signs of wear and tear, rust spots, loose or missing screws, and deteriorating seams. They also look for any visible signs of leaks, such as water stains on ceilings or walls inside the home. Additionally, inspectors look at the condition of the roof flashing, which seals the joints in a metal roof and prevents water intrusion.
Metal roof inspections differ significantly from inspections of asphalt or tile roofs because the failure points are not the same. Instead of checking for granular loss or broken shingles, metal roof inspections focus on fasteners, seams, panel movement, corrosion, and flashing integrity. Metal expands and contracts with temperature changes, which can loosen screws and seals over time. If these areas are not inspected properly, small gaps can develop and allow water intrusion even when panels appear intact.
Unlike shingle roofs, metal roofs can also hide leaks that travel along panels before becoming visible inside the home. This makes a detailed inspection process especially important for identifying problems early.
How Much Does a Roof Inspection Cost?
The cost of a metal roof inspection can range anywhere from $200 to $400. The price could fall into this range due to some particular factors related to the inspection of metal roofs, such as looking at any possible corrosion, the condition of the fasteners, or seals that are loose. Factors such as the size of the roof and the difficulty of it may change the price of an inspection. The bigger or steeper your roof is, the more time and hard work will be invested in the process of roof inspection. Geographical location may also be a factor in pricing, since urban areas are more likely to have higher rates than rural areas simply because of the higher cost of labor.
Why Roof Inspections Are Important
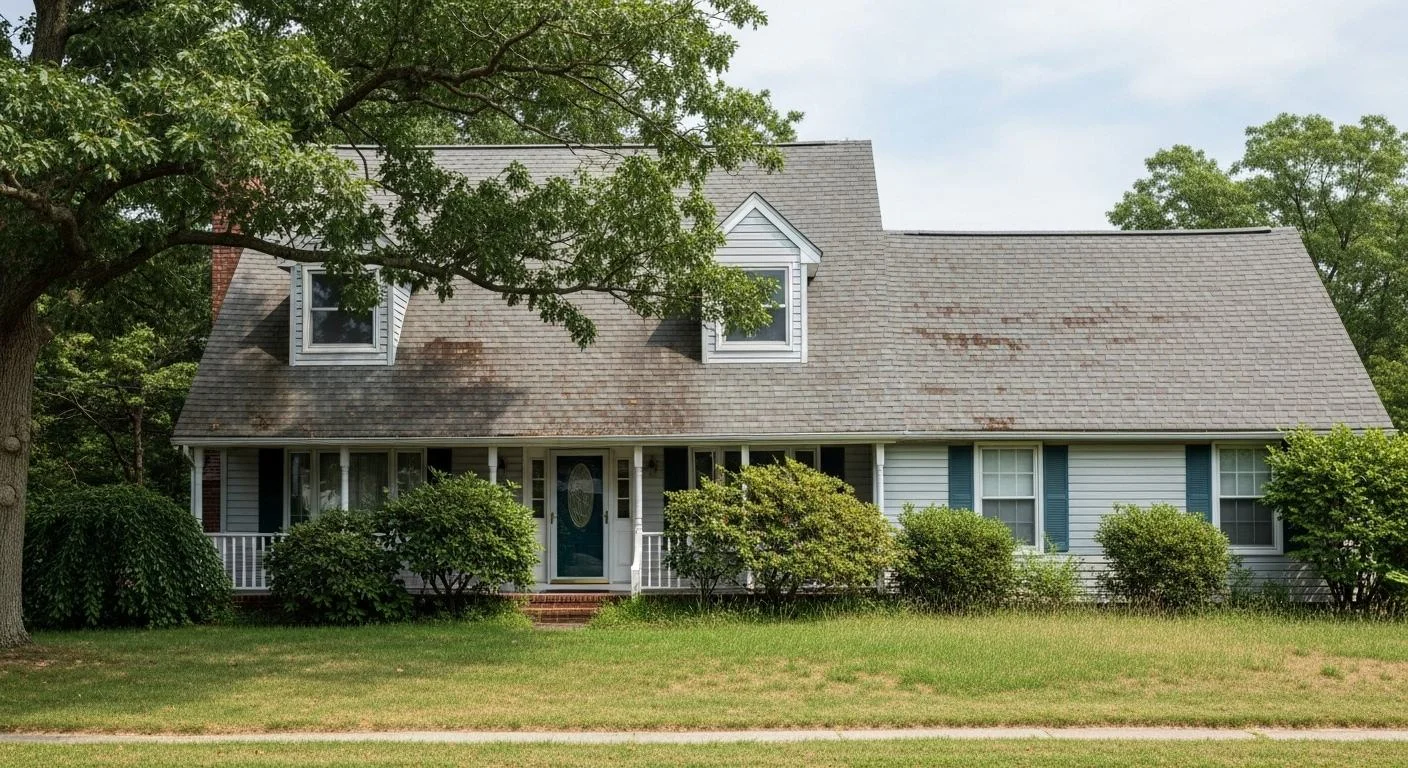
Regular inspections help in the early detection of roofing problems, so one can deal with them promptly to avoid costly repairs in future. Even though metal roofs are considered durable, they may eventually leak and develop holes, which can be detected through early inspection before the small leaks result in major water damage. Besides, neglecting roof problems may also result in structural damage, such as weakened supports and damaged insulation.
Moreover, through normal checks, your roof can also maintain its energy efficiency, considering that leaks are detected and sealed before they contribute to the elevation of energy bills. Taking early care not only prolongs the lifespan of your metal roof but, when it comes to house selling matters, a good roof adds great market value to your home.
How Long Does a Roof Inspection Take?
The time needed to do a roof inspection ranges between 45 minutes to a few hours. Smaller roofs take less time whereas bigger and complicated ones can take up to several hours. The inspection time will, however, depend on several factors including but not limited to size, design, and accessibility of the roof. For example, a single-story building, for instance, would take much less time than a multi-story one with steep slopes and many features to inspect.
How Often Should a Roof Be Inspected
Regular inspections of the roof are important to maintain your roofing and ensure it lasts more. It is advisable for a person to check once every year to spot the damage for the purpose of avoiding major and expensive repairs.
Professionals always recommend that a person must at least get their roofs inspected twice a year in order to save it from different major or minor damages. Ideally, spring and fall are the perfect seasons for roof inspections because one can get prepared for winter storms or heavy rain showers during summers.
However, if you live in an area that frequently experiences hurricane, tornado, or heavy snowfall, more frequent inspections will be required. After any major weather event, it is always a good idea to conduct a quick inspection to make sure no immediate repairs are needed.
Types of Roof Inspections
Knowing the different kinds of roof inspections can help you determine which one is appropriate. The various categories for roof inspections include:
- Visual Inspection: It is actually observing the roof remotely to check for roof problems. It is inexpensive as compared to physical inspection.
- Physical Inspection: In this type, you can walk on the roof in-person to find out any roofing problems like missing shingles, damaged flashing, or cracked spots.
- Thermal Imaging Inspections: These are inspections where the infrared cameras are employed to view moisture and insulation problems that cannot be seen with naked eyes. It is very advisable in regard to leaky and badly insulated areas identification.
- Drone Inspections: The drones that have a good camera can take high-quality photos of roofs. This is very helpful to look into the big commercial roofs or in areas that are very hard to reach.
- Comprehensive Roof Inspections: This includes a detailed inspection of the residential or commercial roof structure, including the attic, roof’s edges and any other structure which is connected to the roof.
Preparing for Your Inspection After Emergency Weather
Extreme weather conditions can impact the integrity of your metal roof. Here’s how to inspect your roof for different types of storm-related damage.
How to Inspect a Roof for Hail Damage
Hailstorms might cause dents or holes in your metal roof which are tough to detect and will eventually progress to leakages. Before beginning, get a hold of a pair of binoculars and scan the roof from the ground for bent panels, broken or missing flashing or sealant issues around the fixtures.
To locate the spots that are flat or towards the edges of the roof, you should be able to safely approach the roof and check them. Inspect further on the drainage systems like gutters or downspouts as hail can also damage those places.
How to Inspect a Roof for Wind Damage
Apart from hail damage, wind can also exacerbate several problems by lifting roof materials, breaking seals and knocking off fixtures. For the roofing to be properly protected from these elements, groundwork inspection is a good preliminary step. Check for any dislodged twisted fixtures, or missing and flapping edging and trim.
Ensure that you have proper access to the roof and look at the seams as well as the edges of the roof. Check the areas around the vents and chimneys for loose and damaged flashing since they are a point of weakness during strong wind conditions. The sooner you are able to identify and seal these areas, the stronger your roofing will become.
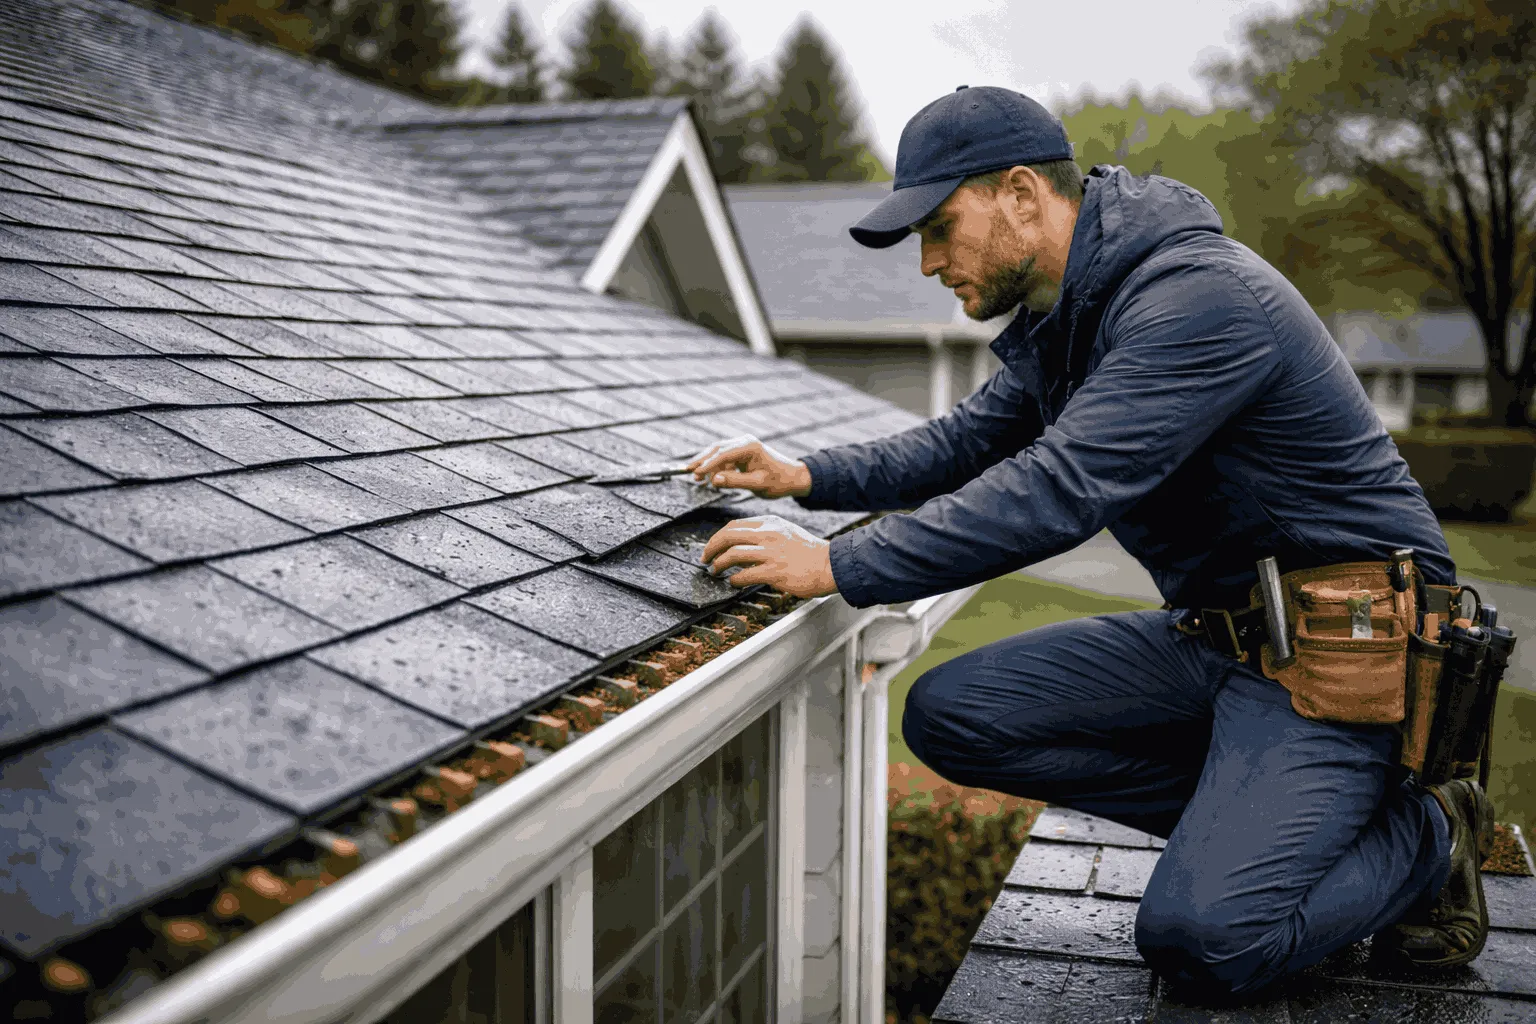
Conducting a DIY Roof Inspection
After examining the damage done by the weather, a complete DIY roof check should be carried out to identify any hidden problems that may cause roof leaks.
Visual Inspection from Ground Level
Start with visual assessment from the ground to take an overview of your roof’s status without using any specialized tools. Observe the roof through binoculars, checking for rust spots or discoloration that may mean corrosion. Look for exposed gaps along seams or next to roof fixtures such as chimneys and vents. Examine the condition of these fittings and look for signs of damage or loosening. This pre-inspection is helpful to know which areas need special attention during further inspection.
Closely Examining the Roof Surface
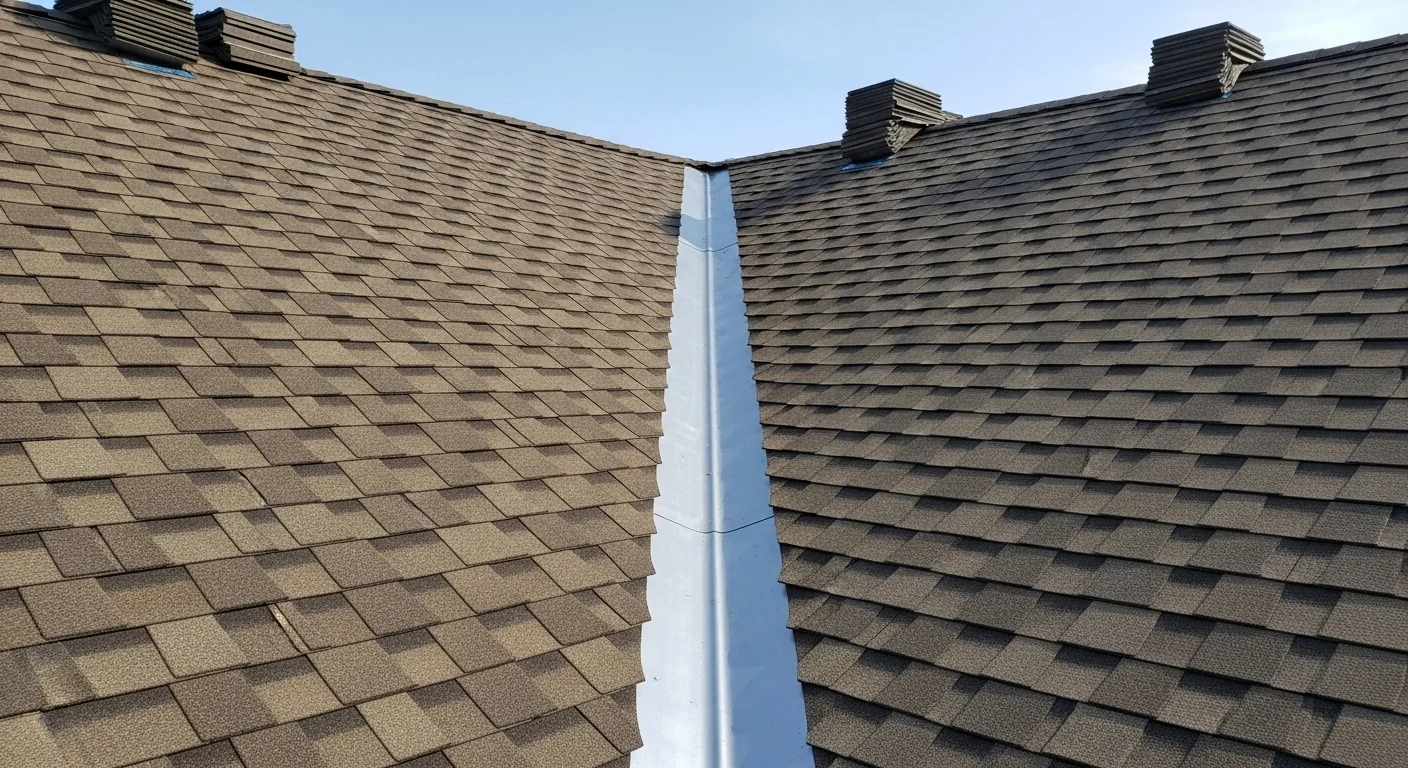
Once you are standing on the roof, check each panel for signs of dents, rust, or missing fasteners that might compromise the integrity of the roof. Overlaps and seams should be inspected for separation or loose sealing that may lead to leaks. Soft spots under the panels can indicate structural damage or other problems. Move across the roof in an organized manner, making sure every section is looked at so all possible concerns are identified.
Inspecting Roof Fixtures and Seals
Fixtures and seals are potential sources of leaks and require special attention. Vents, chimneys and skylights are places that require checking to ensure that the flashing metal is intact and secured tightly. Also, be on the lookout for sealants. If they are worn out and don’t cover the leaks then apply more to prevent water from coming in. Moreover, to prevent these types of issues as well as extending the lifespan of the building, check the valleys and ridges of the roof and check if the seals and compounds are in good condition.
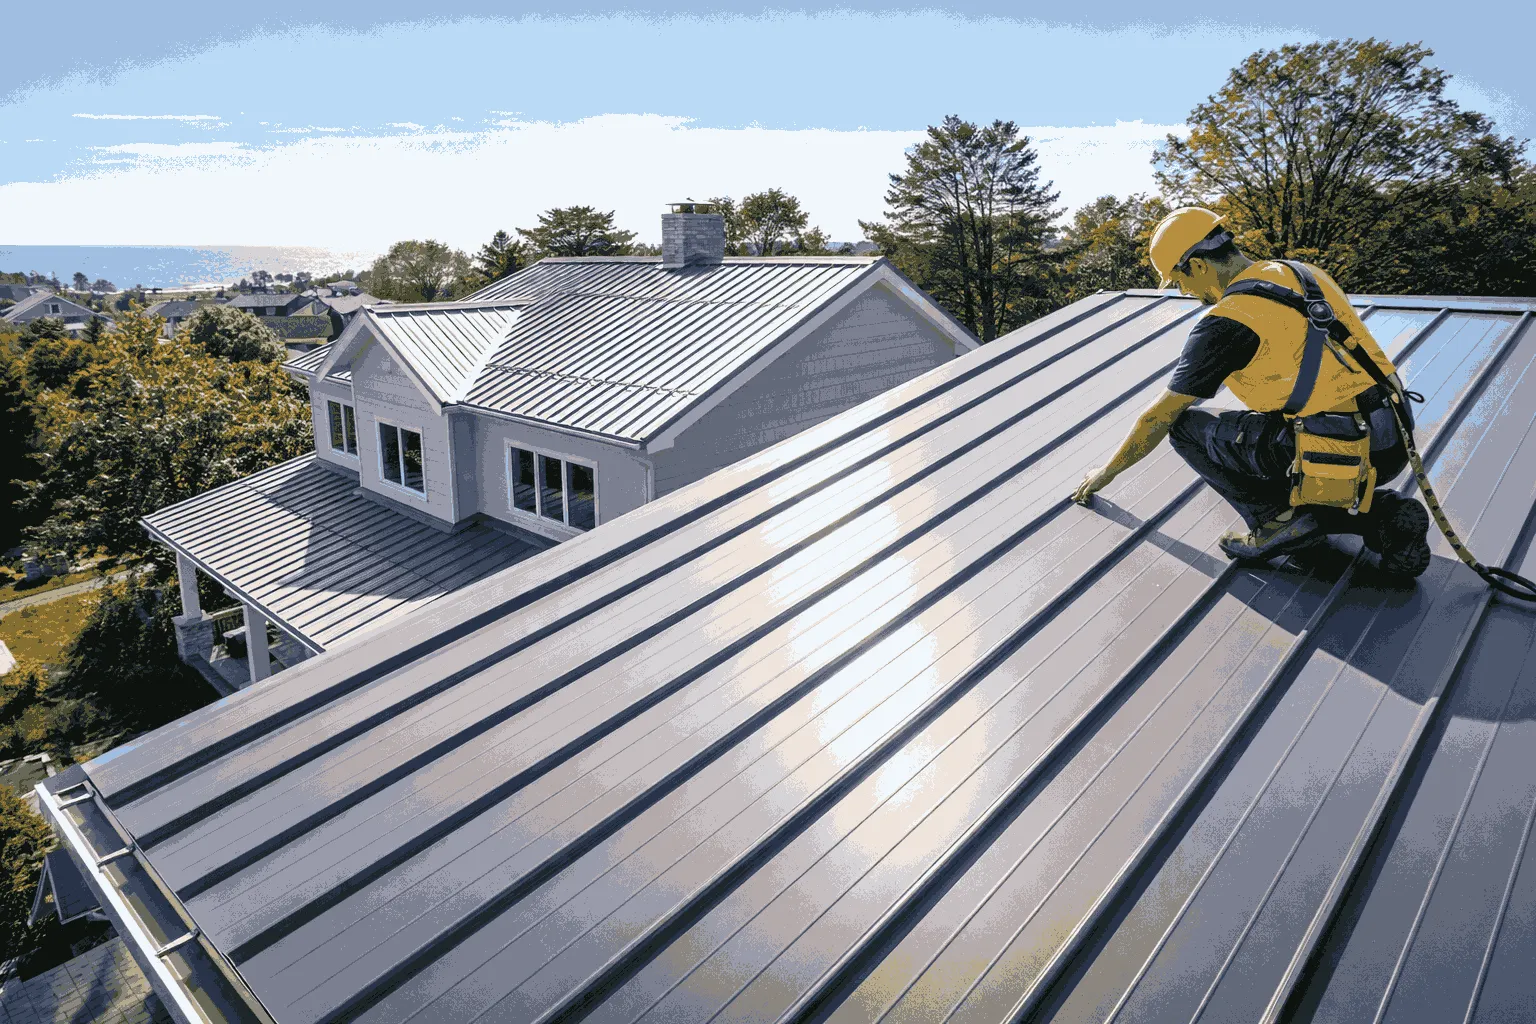
Inspecting a metal roof requires extra caution due to the smooth surface, which can become slippery even in dry conditions. Always wear non-slip footwear, use a stable ladder, and avoid inspecting the roof during wet or windy weather.
Homeowners should never walk on damaged panels or areas that feel soft underfoot. If the roof has steep slopes or limited access, a professional inspection is the safest option.
Conclusion
In summary, for an internal inspection search for any indicators of water ingress such as stains, mold, mildew, or loosened seam fasteners. After that, conduct an external check focusing on the seams, fasteners, and flashings. Bear in mind to make use of a hose during the external inspection as this will simulate rainfall making it easier to check for leaks.
Finally, remember to wear the right clothes and use secure ladders to maintain your safety. The abundance of metal roofs in our homes can act as an additional supportive structure. They can be waterproof for decades and/or may not even need extensive repairs if they’re taken care of. Schedule maintenance checks timely to increase its lifespan and ensure it stays in good condition.