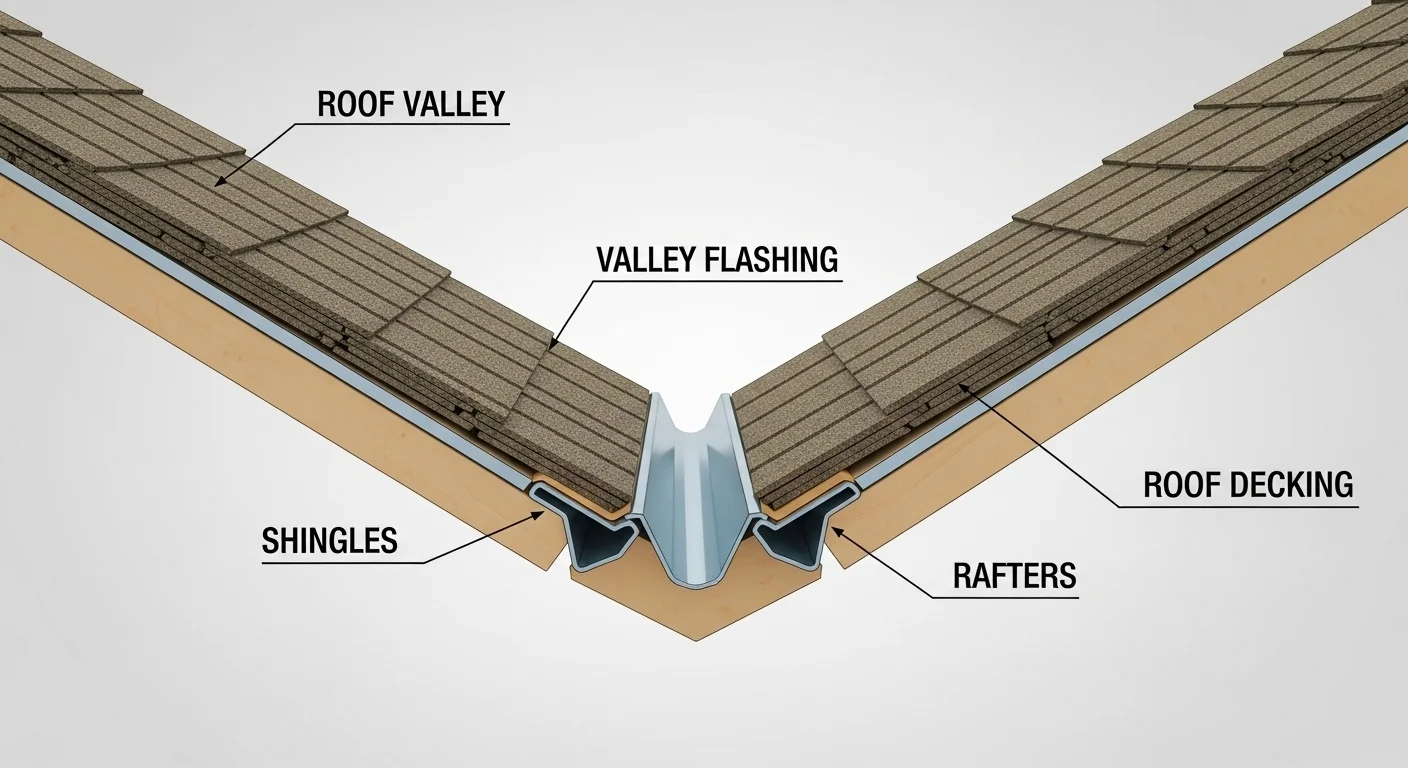
The most important and weakest detail of any pitched roof system is the roof valley. It’s the place where two different roof planes meet, and it directs many types of water, rainwater, melted snow, and debris to a concentrated path that runs straight to your gutters.
A roof is only ever as good as its valleys. If the valley is not working, then your entire roof is ruined. Knowing how valleys work can drastically reduce the risk of leaks, premature roof failure, and costly repairs. Because Roof Valley channels more water than any other area of the roof, even a small installation error can lead to major structural problems.
We believe in the importance of a tight and durable valve more than just following instructions. It requires precision, material understanding, and a lifetime preference for durability.
This guide takes the mystery out of roof valleys and addresses all aspects, from basic installation to advanced sealing techniques to professional troubleshooting.
What are Roof Valleys
So what exactly is a roof valley? It is a point of gravity at the two internal roof edges coming together and creating an area or opening, which causes water to pool.
Types of roof valleys
There are three main types of roof valleys and installation methods for all:
Open Valley:
The most familiar variation, the roofing material (whether shingles or metal panels) stops a few inches away from the centerline, revealing metal lining underneath.
Closed valley:
Shingles continue over the valley. This can be achieved with a cut weave or a complete weave process.
Twill:
Both sides are woven up to the halfway point, and one side is folded over cutting. This aesthetic-energy relationship can be less effective where rainfall is high.
The valley is a significant bend in the roofing, and it must be made of the right material and well-installed to last longer.
Installation Methods for Shingle Roofs
When working with asphalt shingles, the longevity of the valley depends heavily on the underlayment and the technique used for the final layer.
Underlayment is Non-Negotiable
Regardless of the valley style you choose, the underlayment must be secure.
- Ice and Water Shield:
We always recommend installing a self-adhering, rubberized asphalt membrane (Ice and Water Shield) that runs the entire length of the valley. This membrane must extend at least 24 inches onto the decking of both intersecting roof planes. This is your primary defense against water backing up beneath the shingles.
- Layering:
The Ice and Water Shield should be installed before any other synthetic or felt underlayment and smoothed out meticulously to prevent wrinkles, which can show through the finished roofing material.
Closed Valley Technique (Cut)
The closed-cut valley is the most common and reliable method for shingle roofs.
- Run Shingles: Install the shingles on one side of the roof first, running them across the centerline of the valley onto the adjoining roof plane by at least 12 inches.
- Mark the Line: Snap a chalk line 2 inches away from the centerline on the side where the shingles overlap.
- Cut: Use a sharp utility knife to cut the overlapping shingles along the chalk line.
- Seal the Edges: Apply a generous bead of roofing cement beneath the edges of the cut shingles to provide an additional layer of protection against wind and water intrusion.
Woven Valley Technique (Full Weave)
The woven valley involves alternating shingles from both roof planes, weaving them together as they cross the center of the valley.
- Alternation: Start the course with a shingle from one side, then overlap it with a shingle from the other side, ensuring the shingle that finishes the course is always the one that continues across the valley onto the next roof plane.
- Fasteners: Fasteners (nails/staples) should be kept at least 6 inches away from the valley centerline to prevent penetrating the underlayment in the critical water channel.
While visually seamless, woven valleys are generally not recommended in high-stress areas or where large volumes of water are dashed, as the weaving can stiffen and crack over time.
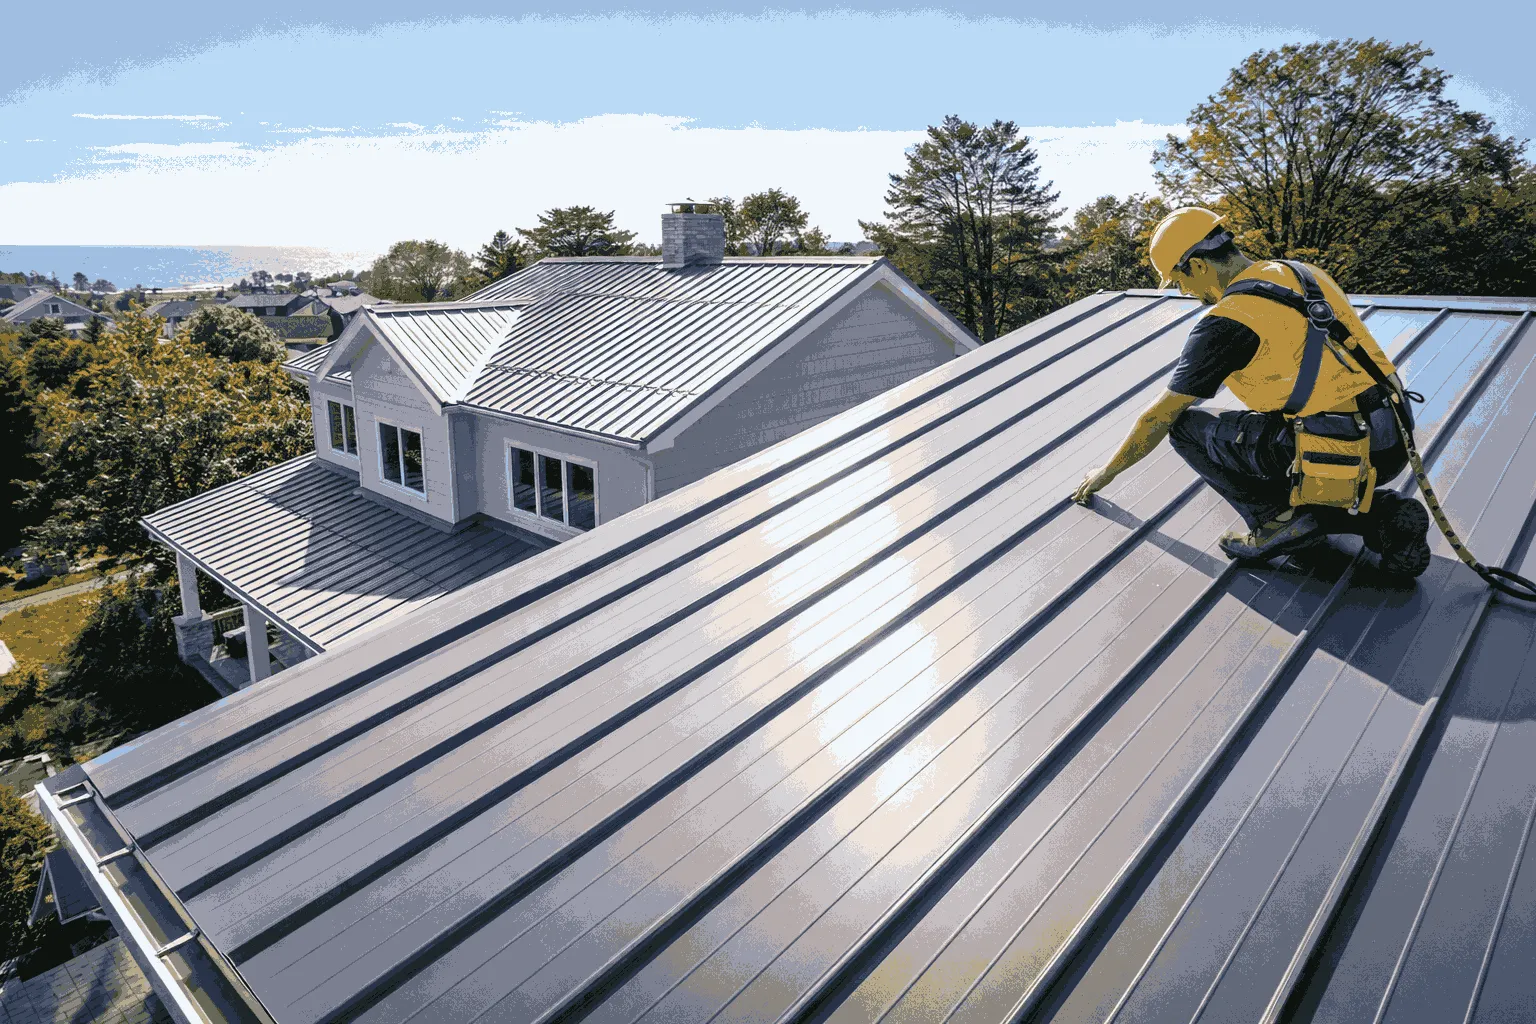
Installation Methods for Metal Roofs
Metal roofing, and specifically standing seam, directs water differently than shingles. The valley installation should be designed with consideration for the thermal movement (expansion and contraction) of the metal panels.
Standard Metal Valley
Metal valleys contained under a metal roof should be an open valley to allow water to flow freely.
Valley Material:
A pre-fabricated metal valley pan of identical gauge and material (i.e., galvanized steel, aluminum, or copper) to the roofing panels shall be used for valley installation:
Valley Clips:
The metal panels cover the roof planes, generally held in place with clips along the valley edges without piercing the valley pan. This makes it possible for the panels to shift a bit as temperature changes.
Hemmed Edges :
The edges of the valley pan are often edged up to form a protective dam that channels water back to the center of the belly pan and prohibits it from running side-to-side under the roof panels.
Allowance for Thermal Movement
Since metal gets hot right away and expands, all of the fastening methods and clearances need to allow for that. If not, the metal will warp, crack, and pull at the fasteners, ultimately breaking them and producing leaks of biblical proportions.
Metal Valley Installation on Shingle Roofs (Open Valley)
For asphalt shingle roofs, the open metal valley is the most durable and effective solution, maximizing drainage and minimizing wear on the shingles.
The Metal Lining is Key
- Ice and Water Barrier:
Start with a continuous run of Ice and Water Shield up the entire valley length.
- Valley Flashing: Install a single, continuous sheet of pre-bent metal flashing (typically $24$ gauge minimum) over the Ice and Water Shield. The metal should be centered and run from the eave up to the ridge.
- Fastening:
Fasten the metal flashing only along the outer edges, keeping fasteners well away (at least 6 inches) from the valley centerline. Some systems use hidden clips for attachment.
- The Cut:
When installing shingles, stop the shingle edges approximately 3 inches to 4 inches away from the valley center on both sides. This exposes a clean channel of metal flashing.
- Shingle Corner Clipping:
The corner of every shingle cut along the metal flashing must be clipped (a small corner removed). This small diagonal cut prevents water from being trapped at the bottom corner of the shingle, which can lead to pooling and rot.
Sealing Techniques for Metal Roof Valleys
Sealing serves as the last line of defense against water infiltration, but sealing too much can actually lead to problems.
Appropriate Sealants
- Avoid using standard caulk:
Standard latex or silicone caulks are not safe for your roof and will break down in no time under UV light and temperature stress.
- Apply Urethane or Polymer Sealants:
Use a premium-grade urethane sealant/adhesive designed explicitly for exterior roofing and sidewall applications. These products are flexible and can deal with extreme temperature variations.
- Where to Seal: Sealing should be minimal in a manner that allows for drainage and thermal movement to take place.
- End Laps and Seams: Seal any horizontal joint where two pieces of metal valley flashing are joined. Place a sealant between the emplacements before installation.
- Ridge Cap Termination: Make sure the ridge cap that travels across the top of the valley is sealed at its end termination point, which prevents water from running back underneath.
Dead Valleys: A Critical Hazard
When a roof plane meets a vertical wall (such as on a chimney or dormer) instead of another roof plane, the condition is called a dead valley, or crickets. Then it is considered “dead,” meaning it stays unmoving since water doesn’t flow properly away from the wall.
Abandoned valleys generally depend too much on sealant and step flashing, both of which degrade over time. Water puddles here, resulting in continuous saturation of the top of the decking and flashing.
The professional approach is to build a cricket a pitch roof structure constructed in the rear of, say, a chimney or vertical wall to split the flow and direct it safely into two divergent channels.
Dead valleys are a complex architectural condition that should always be left to the professionals when it comes to roofing. If you think you do, call MK Best Roofing for a custom evaluation.
Roof Valley Leaks: Findings and Solutions
When leaks strike, the warning signs are typically visible long before significant damage occurs. Homeowners usually see water stains on the ceilings immediately below the valley intersection, yellow, brown, or even dark splotches that mark seeping moisture.
On exposed metal valleys, you may also notice missing granules or erosion at the shingle edges. This occurs from concentrated water flow that wears down the shingles faster in these areas.
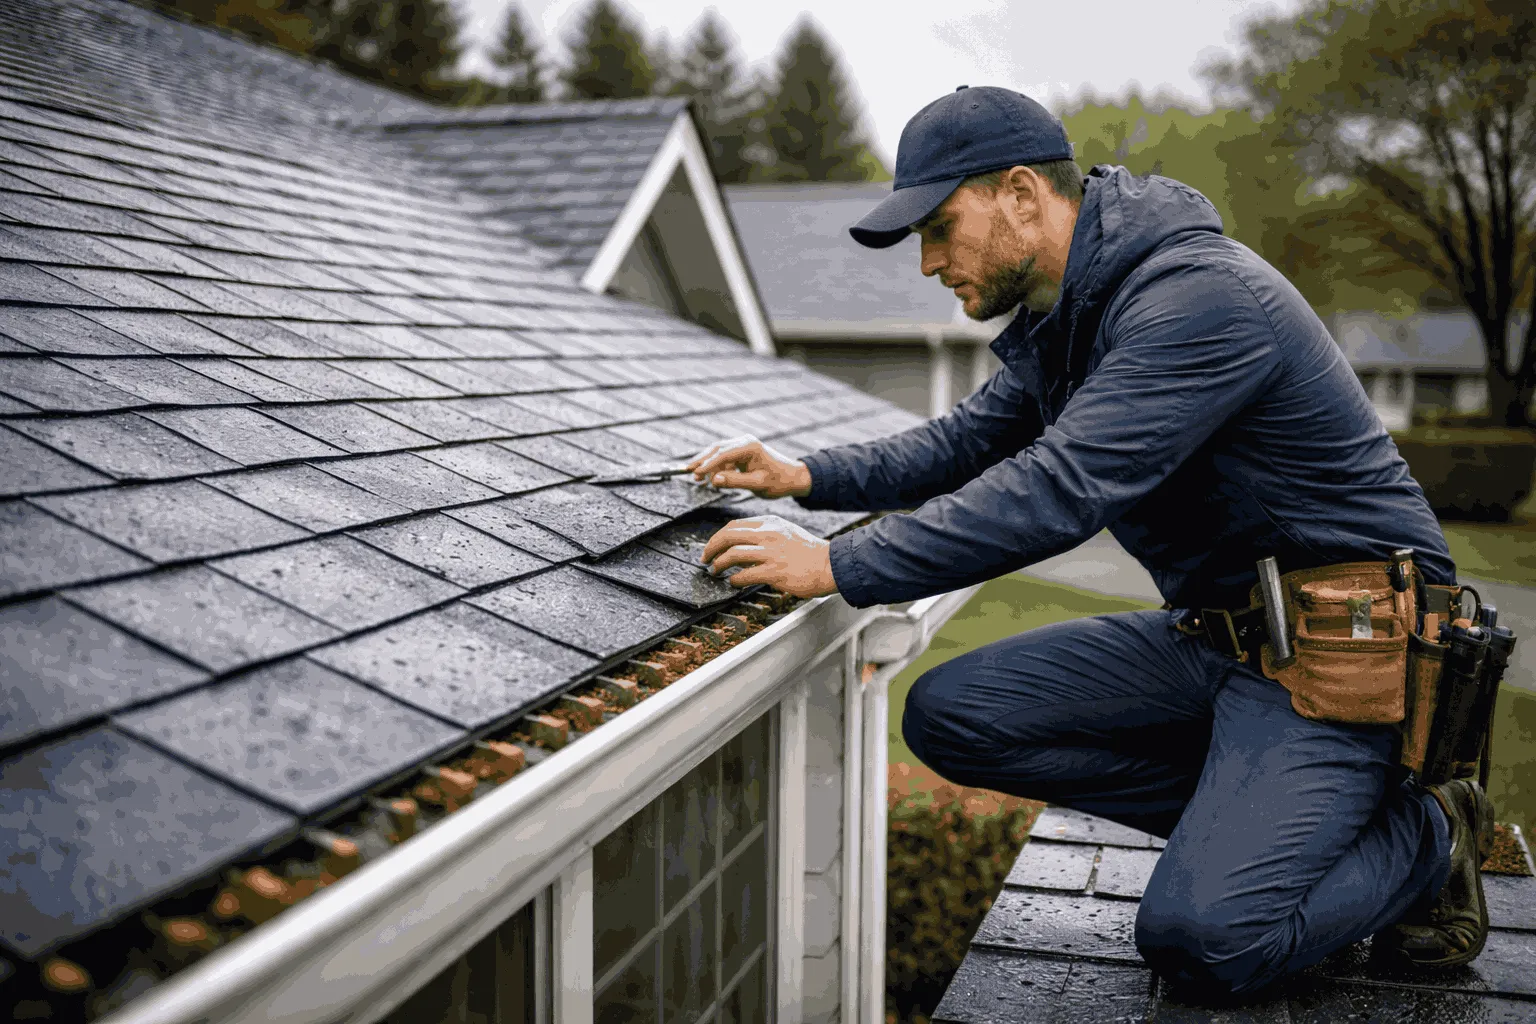
DIY-Friendly Fixes: What You Can Repair on Your Own
Not every valley leak needs professional help; minor issues are safe for homeowners with even modest DIY skills to handle. For blockage caused leaks, such as leaves and branches that can dam up water on the roof, you may be able to clear the obstructions with a long pole or soft brush without ever having to get onto the roof. But DIY remedies only address issues at the surface level. And they ought to be regarded as temporary relief, not a permanent solution. If the symptoms continue or worsen, it’s time to bring in a pro.
Professional Valley Repairs: Expert Assistance When You Need It
When leaks are attributed to structural or installation defects, then only professional repairs would be effective. The primary buzz killer is that of underlayment failure, particularly when Ice and Water Shield gets cut open. This involves taking off the shingles surrounding the valley, replacing them with new underlayment, and then installing new shingles on the area, in effect, part of a re-roof.
Conclusion
The roof valley is the backbone of your roofing system. Cutting corners on materials, haste of installation, or improper methods at this point means early failure and expensive compensating interior damage.
Whether you choose the durability of open metal valleys or prefer the neat appearance of closed-cut shingles, accuracy is essential. Homeowners can take a proactive approach to maintenance by learning about these weaknesses. The importance and value of installation best practice (i.e., using continuous Ice and Water Shield and proper sealant) help ensure a satisfied customer and long-term performance of the system for contractors.
If you have any of these symptoms, which are pretty common in houses where the secondary water barrier has been compromised, it is very likely affecting your roof: You can see that my shingles look completely normal up until a foot or two from the edge.
Call MK Best Roofing now to schedule a free roof valley inspection. Our technicians are skilled in the best practices of valley construction, ensuring a watertight, permanent solution that protects your investment.
Frequently Asked Questions